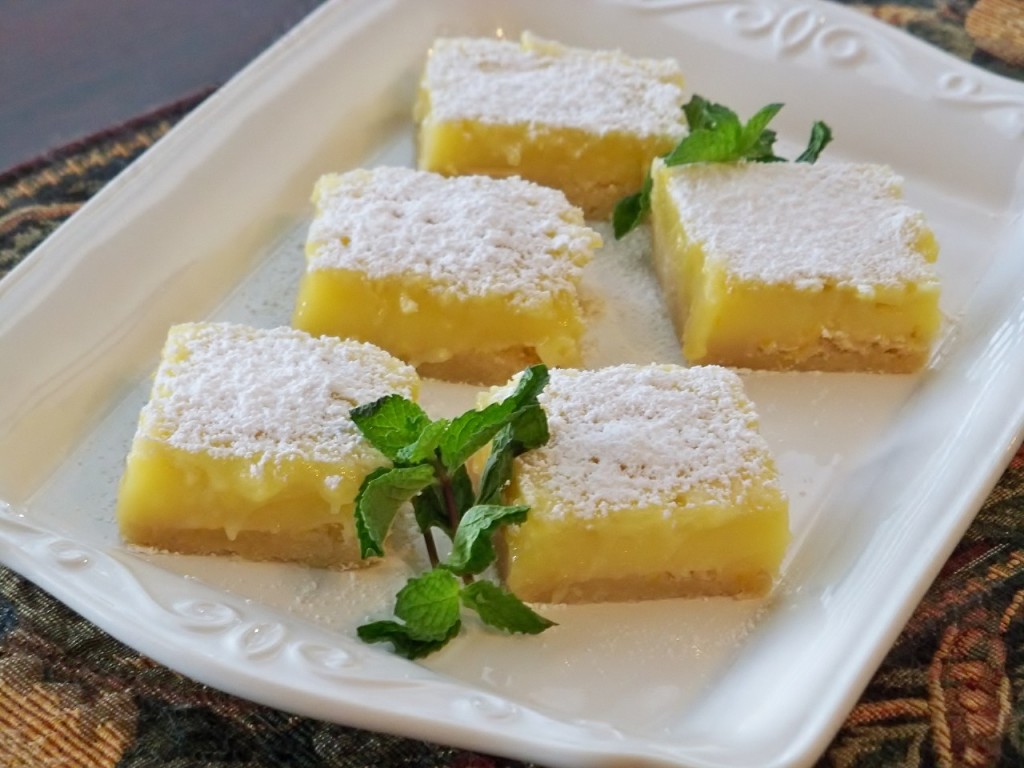
Meyer Lemon Bars

By now you may know of my obsession with Meyer lemons. So I’m sure it’s not surprising that as soon as I saw these lemon bars over at PreventionRd I knew I had to make them. Earlier this week I had two of my best friends, Tracy and Abby, over to help me with some research for my Catering company. To break up the actual “work”, we made these lemon bars. Nothing is better than baking with friends! These aren’t the cakey lemon bars that you may get from some mixes. These are oooey and gooey but just solid enough to cut. These made for a delicious treat that was tart and creamy and perfect for any day! Even better they come in at around 230 calories per bar which is always nice!

Enjoy!

Meyer Lemon Bars

For the crust:
1/2 lb unsalted butter, at room temperature
1/2 cup granulated sugar
1 cup all-purpose flour
1 cup whole wheat pastry flour ( I used regular pastry flour, either will work)
1/8 tsp kosher salt

For the filling:
6 large eggs, at room temperature
2 1/2 cups granulated sugar
2 Tbsp Meyer lemon zest
1 cup freshly squeezed Meyer lemon juice (or regular lemon juice)
1 cup all-purpose flour

Directions:

Preheat the oven to 350 and grease a 9×13-inch baking pan.

For the crust, cream together the butter and sugar until light in the bowl of an electric mixer fitted with the paddle attachment. In a separate bowl, combine the flour and salt and, with the mixer on low, add to the butter and beat just until mixed. Put the dough on a well-floured board and form into a ball. With floured hands, flatten the dough into the baking pan. Chill in the freezer for 10 minutes.

Bake the crust for 15-20 minutes or until very lightly browned. Let cool on a wire rack.

For the lemon layer, whisk together the eggs, sugar, lemon zest, lemon juice, and flour. Pour over the crust and bake for 30 to 35 minutes or until set. Let cool to room temperature. Cut into squares or triangles. Sprinkle with powdered sugar, if desired. Yield: 24 bars.

Nutrition Information (per bar): 229 calories; 8.5 g. fat; 54 mg. cholesterol; 31 mg. sodium; 36 g. carbohydrate; 0.5 g. fiber; 2.5 g. protein

Posted in 500 Calories or less, Desserts | 6 Comments

Homemade Mayonnaise

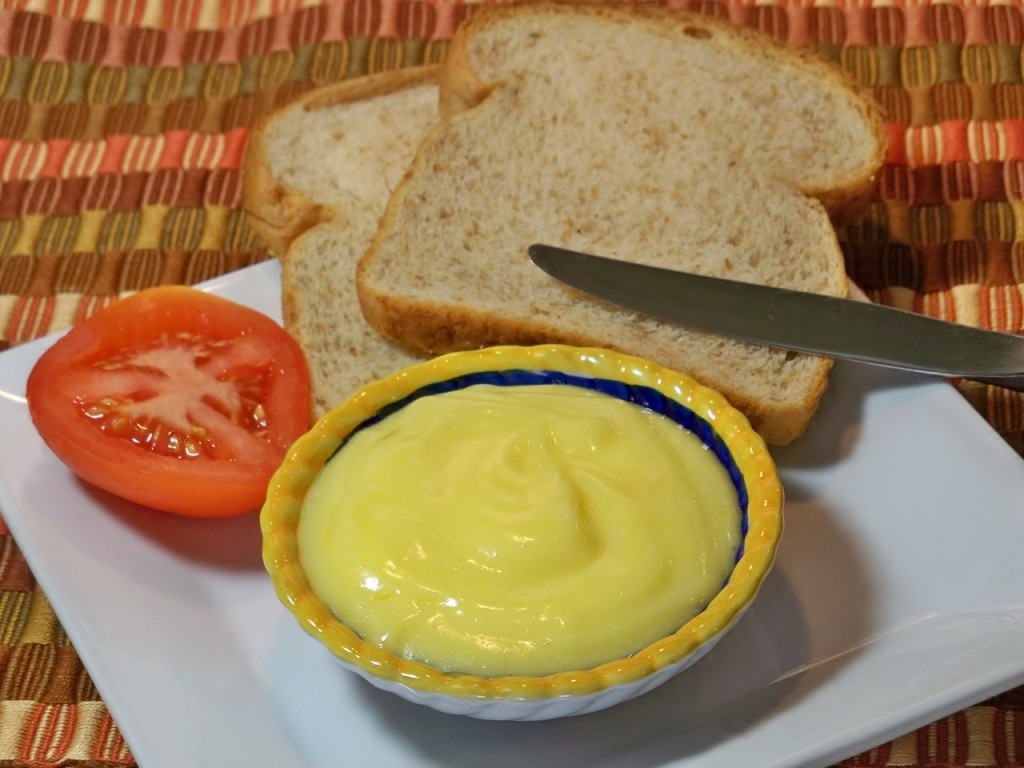
Oh my heavens. Homemade mayonnaise is sinful! It blows my favorite brand of mayonnaise out of the water and wow does it taste incredible on a BLT sandwich. I can hardly wait to make chicken salad sandwiches with it.  From beginning to end it takes 5 minutes, if you use a stand mixer with the whisk attachment like I did. It stores well in the refrigerator, although I wouldn’t store it for more than a week. I can pretty much assure you though, that it won’t last a week. Especially since the recipe only makes 3/4 cup at a time. Make what you need when you need it and save yourself the fridge space! 🙂 The egg yolk and Dijon mustard give this mayonnaise a soft yellow hue (which is now a glorious color to me) so don’t be worried that it’s not bright white like store bought mayonnaise. The color is normal.

Enjoy and for the love of all things good and holy make a BLT with this mayonnaise. You won’t be sorry.

Homemade Mayonnaise
Source: Epicurious

Yield: Makes about 3/4 cup

Ingredients

1 large egg yolk*
1 1/2 teaspoons fresh lemon juice
1 teaspoon white wine vinegar
1/4 teaspoon Dijon mustard
1/2 teaspoon salt plus more to taste
3/4 cup canola oil, divided

Preparation

Combine egg yolk, lemon juice, vinegar, mustard, and 1/2 teaspoon salt in medium bowl. Whisk until blended and bright yellow, about 30 seconds.

Using 1/4 teaspoon measure and whisking constantly, add 1/4 cup oil to yolk mixture, a few drops at a time, about 4 minutes. Gradually add remaining 1/2 cup oil in very slow thin stream, whisking constantly, until mayonnaise is thick, about 8 minutes (mayonnaise will be lighter in color). Cover and chill. do ahead Can be made up to 2 days ahead. Keep chilled.

To make in a stand mixer- Use the whisk attachment and follow the same steps as above. If you are in a rush or don’t feel like whisking, this only takes about 5 minutes.

*Raw egg is not recommended for infants, the elderly, pregnant women, and people with weakened immune systems. To avoid the risk of salmonella infection, you can use pasteurized egg yolk instead.

Posted in The Basics... | 2 Comments

Menu Plan: 1/22-1/28

I obviously wasn’t ready for the week we had last week. From Wednesday night on we weren’t home for dinner or had leftovers to use up (the sad but true side effect of cooking most every night). So I have several meals rolling over to this week, that’s OK though, it will save me some money at the grocery store. Let’s hope I get a little more accomplished in the kitchen this week eh?


Sunday: Dinner with friends

Monday: Lavash flatbread “pizza” with shrimp, red onion and feta, salad

Tuesday: Chicken with mustard dill sauce (lightened up just a smidge), Herbs de Provence potatoes and roasted green beans.

Wednesday: Athenian Orzo

Thursday:  Chicken Satay with spicy peanut sauce and edamame

Friday: Pasta with Mushrooms and Pumpkin – Gorgonzola Sauce , salad.

Saturday: Cheat night! Linguine Carbonara with Blue Cheese and Artichokes

Posted in Menu Plan Suggestions | 1 Comment

Giant Double Chocolate Cookies

When you’re a poor foodie you have to get creative when you want to give a gift or say thank you. As I’ve said a bajillion times, I just started my last semester of Culinary School (wheeee!). As you probably know, college books are expensive! So when two different friends volunteered to give me their used books for this semester I was extremely grateful. I only know one way to say thank you and it must involve the kitchen. Minutes after resolving to bake something delicious I stumbled on this recipe from Smells Like Home and I knew instantly what I would be making for my friends.
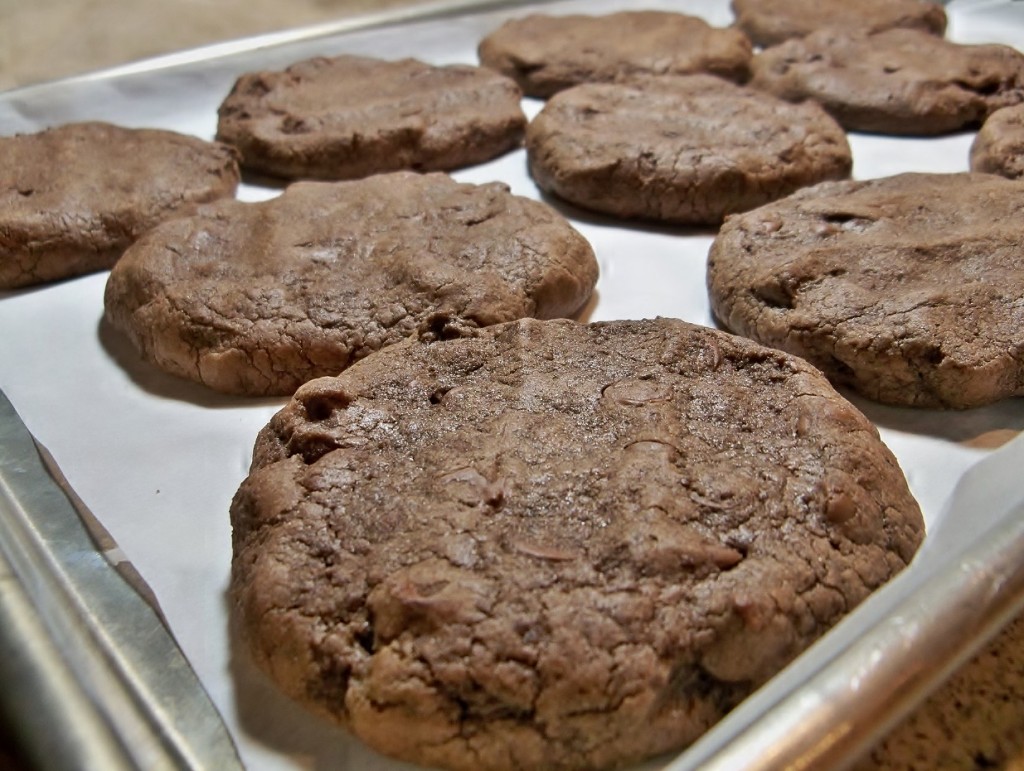
I have never had to weigh a cookie before this recipe and at 4 oz a piece these cookies are huge! They weren’t dry or too fudgy, like I feared they would be. These by no means were on our diet but I had to test taste one before giving them out as a thank you gift! Hubby and I split one and loved how chocolatey the cookie tasted. Most importantly my friends loved the cookies too! If you are looking for a cookie that certainly isn’t your standard cookie, give this recipe a try!

Enjoy!

P.S. Thank you Suzanne and Frank! You guys are the best! 🙂

Giant Double Chocolate Cookies
Source: Smells Like Home

Ingredients:

2 sticks unsalted butter, cold and cubed
1 1/4 cups + 2 tbsp granulated sugar
2 eggs
1/2 cup good quality dark cocoa powder
2 1/4 cups all-purpose flour
1/4 tsp Kosher salt
1 teaspoon baking powder
2 1/2 cups semi-sweet chocolate chips

Instructions:

Preheat the oven to 350˚ F. Line two baking sheets with parchment paper or silicone baking mats.
In the bowl of an electric mixer fitted with the paddle attachment, beat the butter and sugar together on medium-high speed until light and fluffy, 2-3 minutes. Blend in the eggs one at a time, scraping down the bowl as needed. On low speed, stir in the cocoa powder until well blended. Add the flour, salt and baking powder to the bowl and mix on low speed just until incorporated. Fold in the chocolate chips with a spatula. Transfer the dough to a work surface and with slightly damp hands to prevent sticking, knead briefly by hand to be sure the ingredients are well combined.
Divide the dough into 4 ounce portions (yields 11 cookies) or divide into 12 equal pieces. Again with slightly damp hands, roll each portion of dough into a ball and flatten just slightly into a disc. Place on the prepared baking sheets, two inches apart.
Bake 16-20 minutes, until you’re just able to lift the edges up off the pan without breaking the dough. Let cool on the baking sheets 5-10 minutes, then transfer to a wire rack to cool completely.

Posted in Desserts | 5 Comments

Herb and Shallot Compound Butter

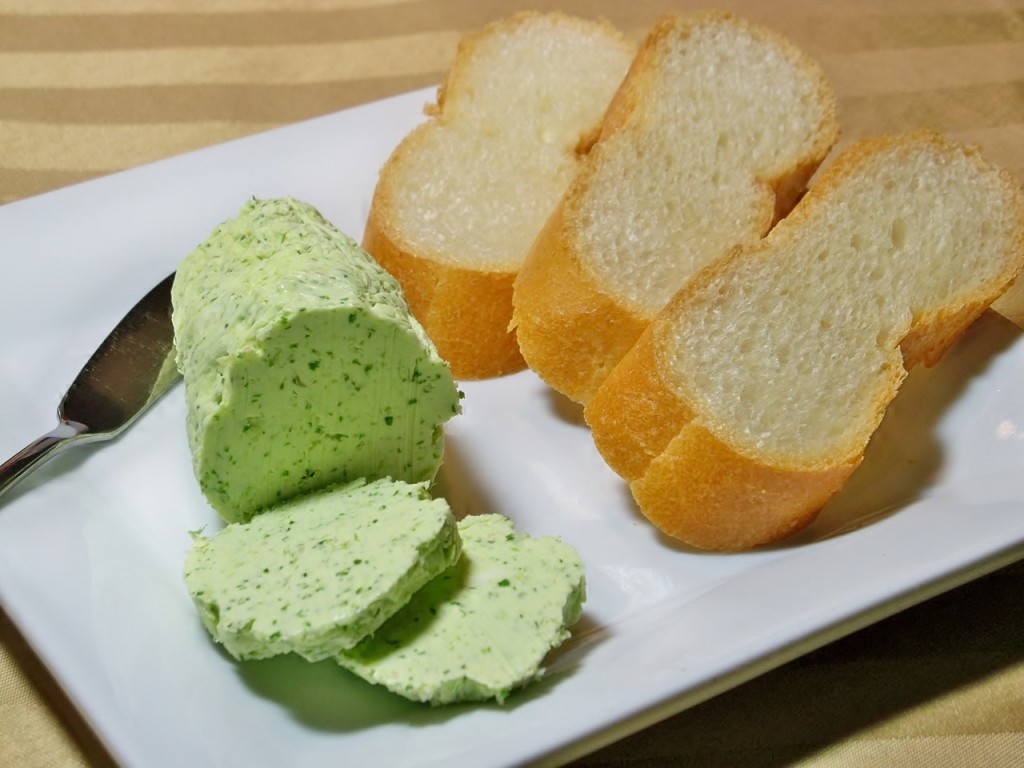
It’s garlicky herby butter and it’s easy!. What else do I need to say to convince you how easy and awesome this is? This is so wonderful to have on hand for a flavorful add in to just about any dish. It’s also delicious spread over some warm bread. This stores really well, wrapped tightly in the fridge. If you don’t need a whole log (I can’t think of any reason why you wouldn’t 😉 ) you can easily cut the recipe in half.

Enjoy!


Herb and Shallot Compound Butter

2 sticks unsalted butter, softened
3 cloves of garlic, peeled
1 small shallot, cut in half
2 tablespoons chopped parsley
1 tablespoon chopped basil

In a food processor, pulse to chop garlic, shallot, parsley and basil. Once chopped, add butter and pulse long enough to combine thoroughly. Place butter in a mound on a sheet of plastic wrap. Wrap to form a log with plastic wrap. Store in fridge wrapped tightly. When needed, slice butter off log.
*If you don’t have a food processor, it’s no problem! Chop herbs, garlic and shallot finely. Stir into softened butter and follow directions for storage above.

Posted in The Basics... | 6 Comments

Healthy Sesame Chicken

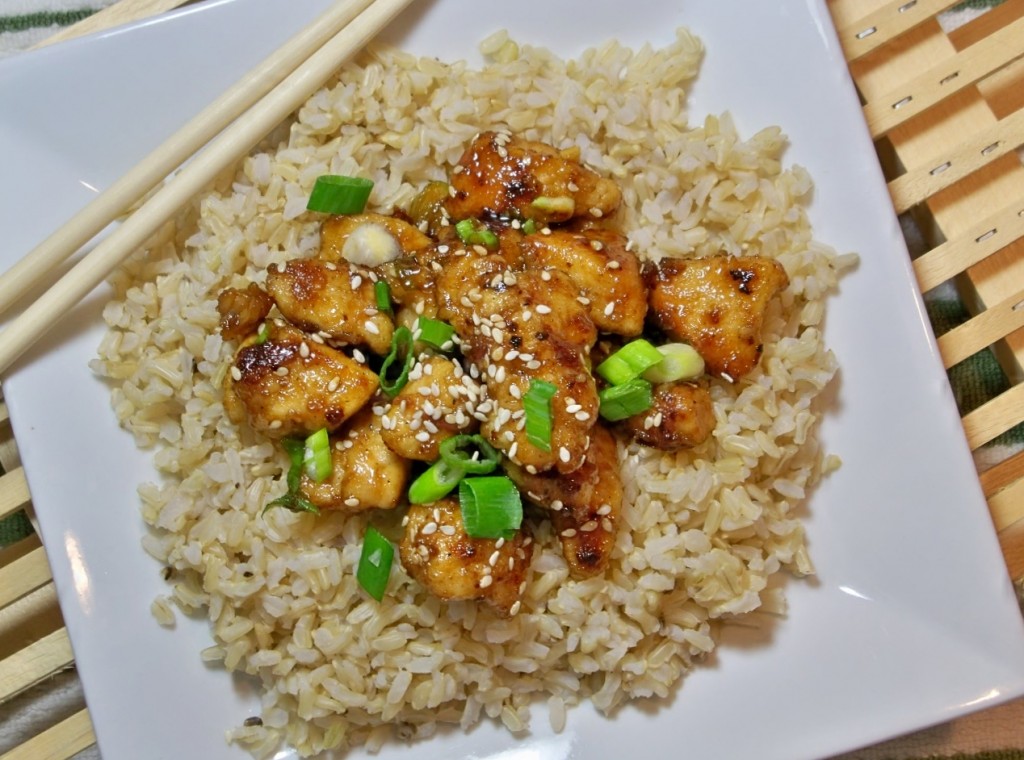
Maybe it’s just us, but we could easily eat Chinese (well really any type of Asian food) several times a week. So I was pretty excited to find this recipe for healthy sesame chicken. Between the sesame oil and the sesame seeds, the flavor of sesame really shines beautifully in this dish. It also creates a really nice and sticky sauce and we all know that is the best part of Chinese food. 🙂
We really enjoyed eating something that tasted better than take out, on a weeknight for 250ish calories a serving. I think you will too! Give this a try next time you are craving take out but want to save your wallet and your waistline.

Healthy Sesame Chicken
Barely adapted from here.

Ingredients

1/2 cup unbleached flour or 1/2 cup all-purpose flour
1/4 teaspoon salt
1/8 teaspoon ground black pepper
4 boneless skinless chicken breast halves, cut into medium sized pieces
1/4 cup reduced sodium soy sauce
1/4 cup sugar
1/2 teaspoon dark sesame oil
2 tablespoons sesame seeds, toasted
1/4 cup chopped fresh scallions (both green and white parts)

Directions

In a gallon-size plastic bag, combine flour, salt and pepper.
Add chicken, seal bag, and shake well to coat.
Coat a large nonstick skillet with nonstick spray and warm over medium-high heat.
Add chicken to skillet and cook, stirring, for 3 to 4 minutes, or until no longer pink.
Transfer to a plate.
Reduce heat to medium.
Combine soy sauce and sugar in the skillet.
Cook, stirring occasionally, until the sugar dissolves (about 1-2 minutes max)
Add oil and sesame seeds.
Add chicken and scallions.
Toss and serve immediately (we served ours over brown rice)

Posted in 500 Calories or less, Chicken Dishes | 11 Comments

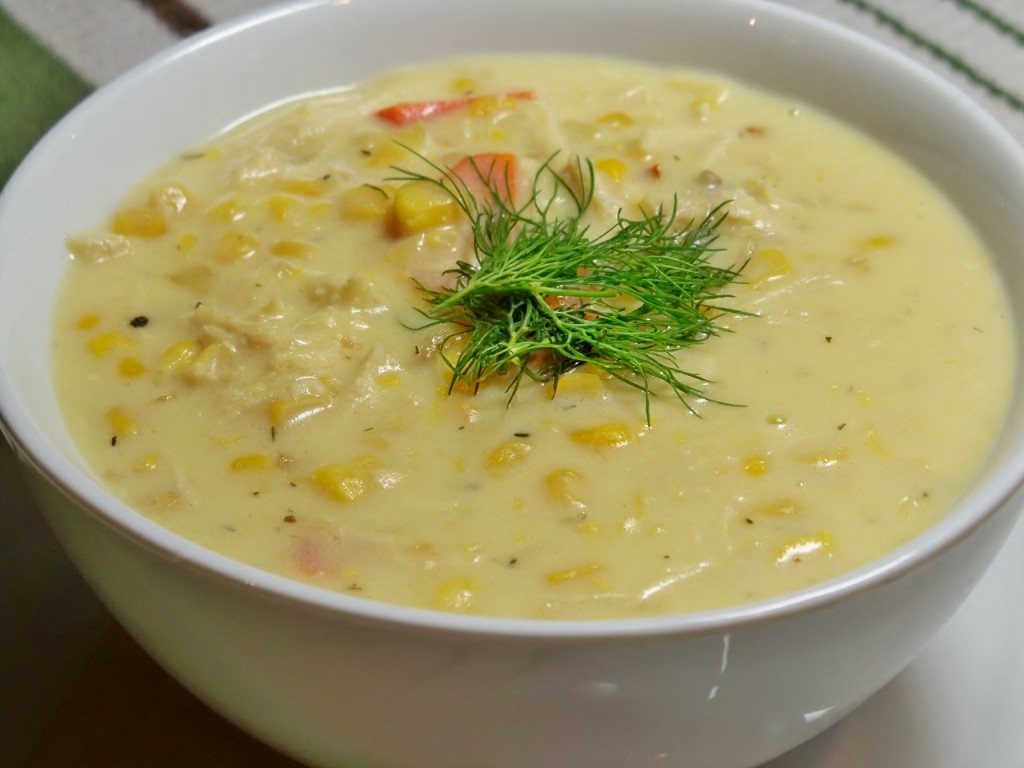
Quick Chicken and Corn Chowder

There are few things I love more than a quick meal that tastes delicious. I was a little skeptical of this “chowder” since most chowder, by definition, has potatoes in it. Pish. I didn’t even miss the potatoes! I poached my chicken breast in simmering water for 20 minutes, which could have easily been done before I left for the day or the night before. To save time, I shredded the chicken with my new handy-dandy mixer shredding trick. I actually wasn’t prepared for how little time it would take to finish the chowder and had dinner ready way before our usual time. Which, really isn’t a problem in my world. 😉
If you are looking for a quick, warming dish that is low in calories (257 per cup!) look no further people!
Enjoy!

Quick Chicken and Corn Chowder
Adapted from: Cooking Light

YIELD: 6 servings (serving size: about 1 cup)

Ingredients

2 tablespoons butter
1/4 cup chopped onion
1/4 cup chopped carrots
2 tablespoons all-purpose flour
3 cups 2% reduced-fat milk
2 cups shredded roasted skinless, boneless chicken breasts (this was 1 large chicken breast for me)
15 oz can of corn, drained (or 2 cups fresh corn off the cob)
1 teaspoon chopped fresh or 1/4 teaspoon dried thyme
1/8 teaspoon crushed red pepper
1/8 teaspoon salt
1/8 teaspoon black pepper
1/4 teaspoon dried dill
1 (14 3/4-ounce) can cream-style corn

Preparation

Melt the butter in a large Dutch oven over medium heat. Add onion and carrot; cook for 5 minutes or until tender, stirring frequently. Add flour; cook 1 minute, stirring constantly. Stir in milk and remaining ingredients. Bring to a low boil; cook until thick (about 5 minutes).

Posted in 500 Calories or less, Chicken Dishes, Soups | Comments Off on Quick Chicken and Corn Chowder